Step-by-Step
1. Cut your fabric to size. For a 20" by 20" pillow like I made, cut a rectangle 20.5" by at least 44"; this will result in a small 6" overlap. I wanted a larger overlap, so cut my rectangle 20.5" by 54"; this resulted in approximately a 16" overlap.
2. Hem the short ends by folding them over by 1/2 an inch, and then 1/2 an inch again. Iron and stitch.
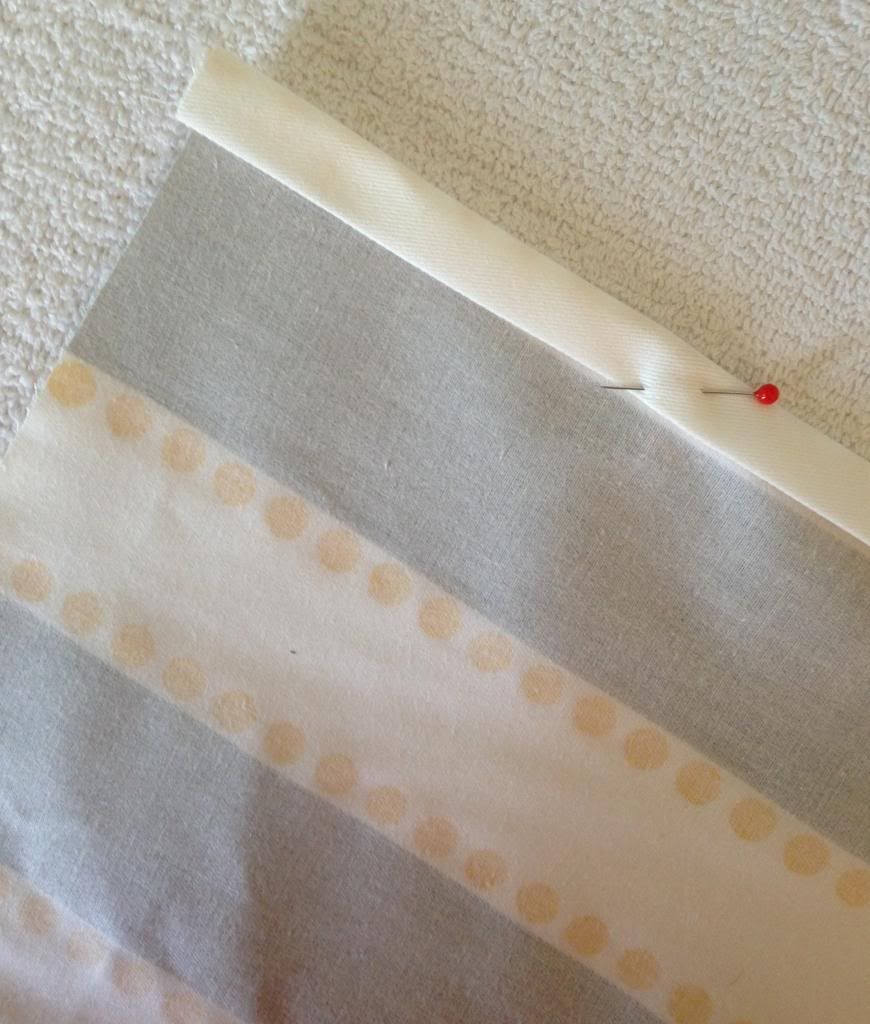
Pinned and ready to sew.
3. With the fabric turned right side up, fold over one side to the center. Because I was doing the larger overlap, I folded mine in 16" from the hemmed edge.
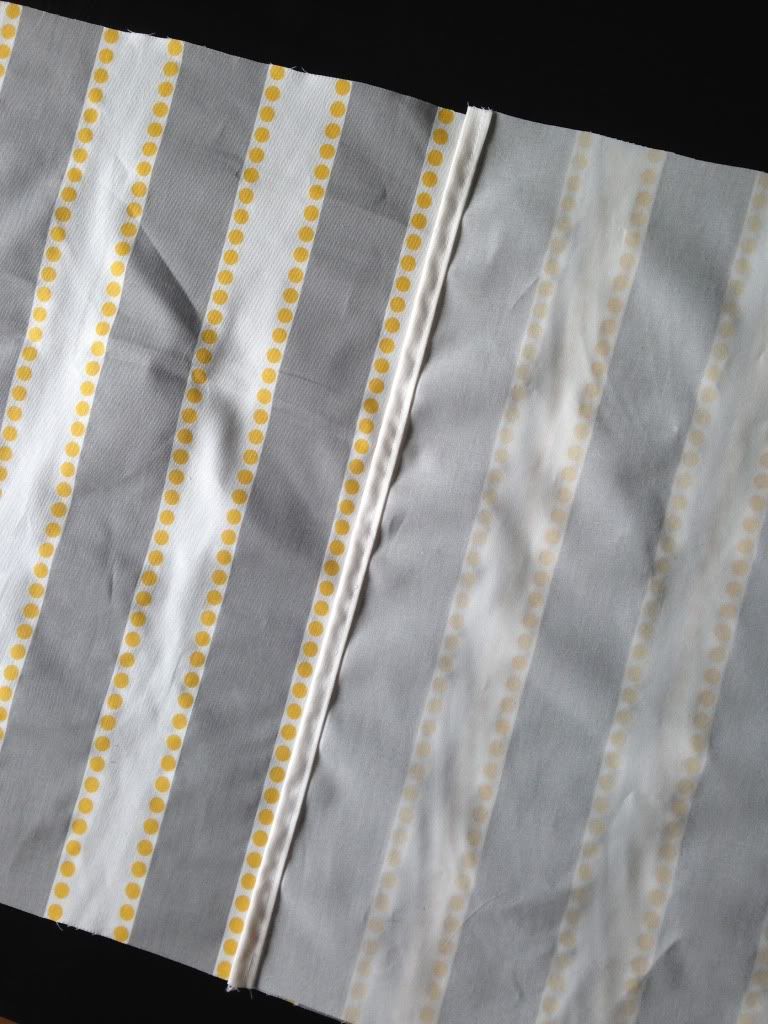
Folded over.
4. Fold the other edge over so that your resulting square is 20.5" by 20". Pin the edges and stitch.
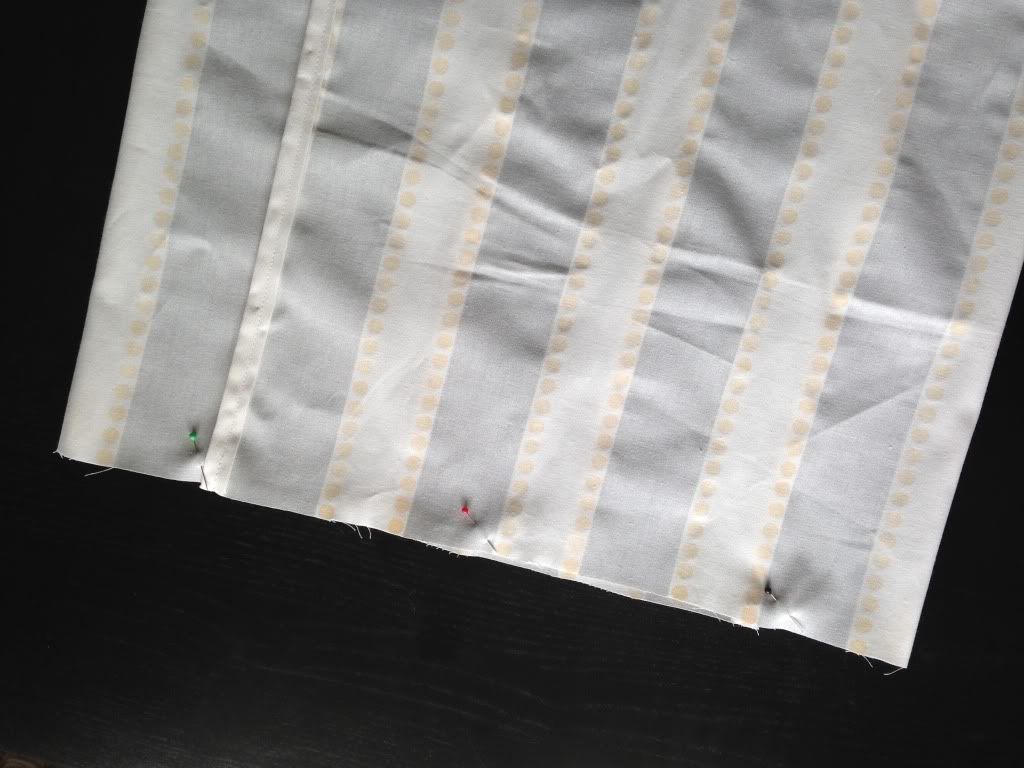
Almost there!
5. Once you've stitched both sides, turn the pillow cover inside out and you should now have a 20" by 20" envelope-style pillow cover.
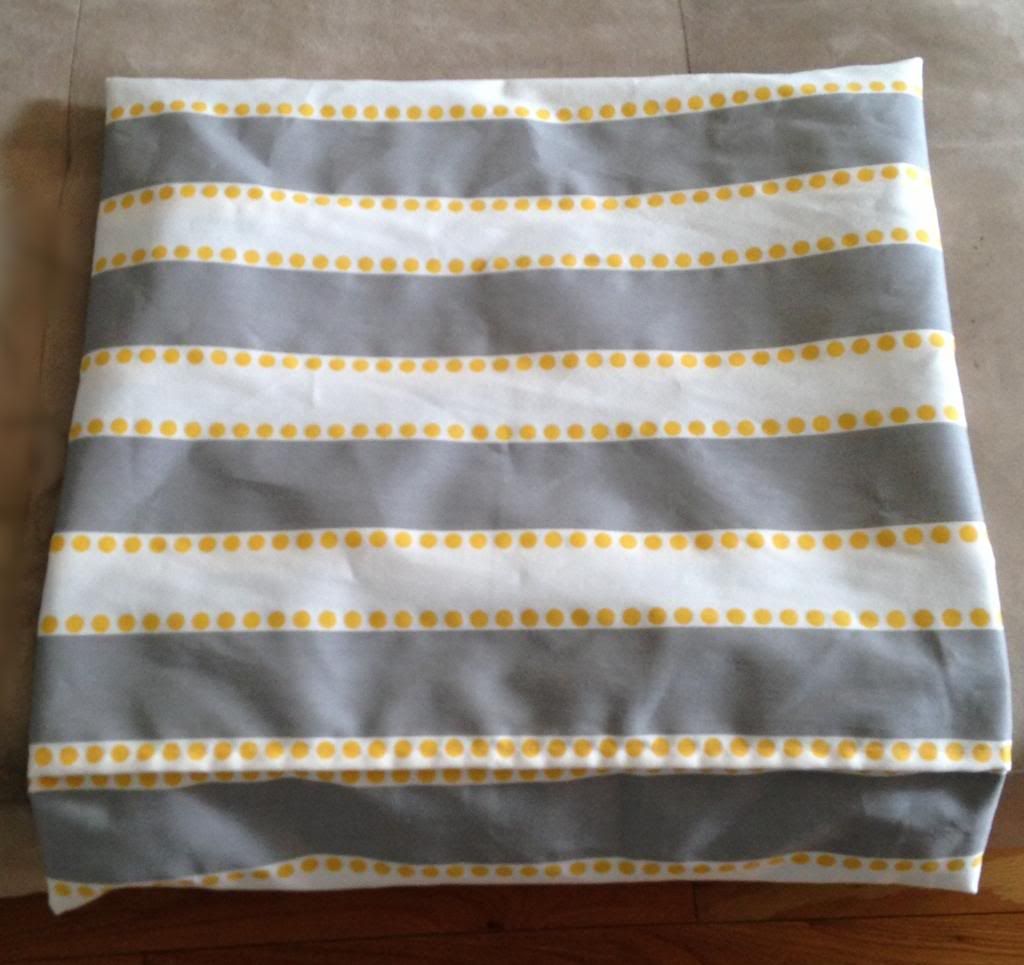
See how simple that was! Now I want to make cushion covers for every person I know and every room in my home! Here are some additional pictures, just for fun.
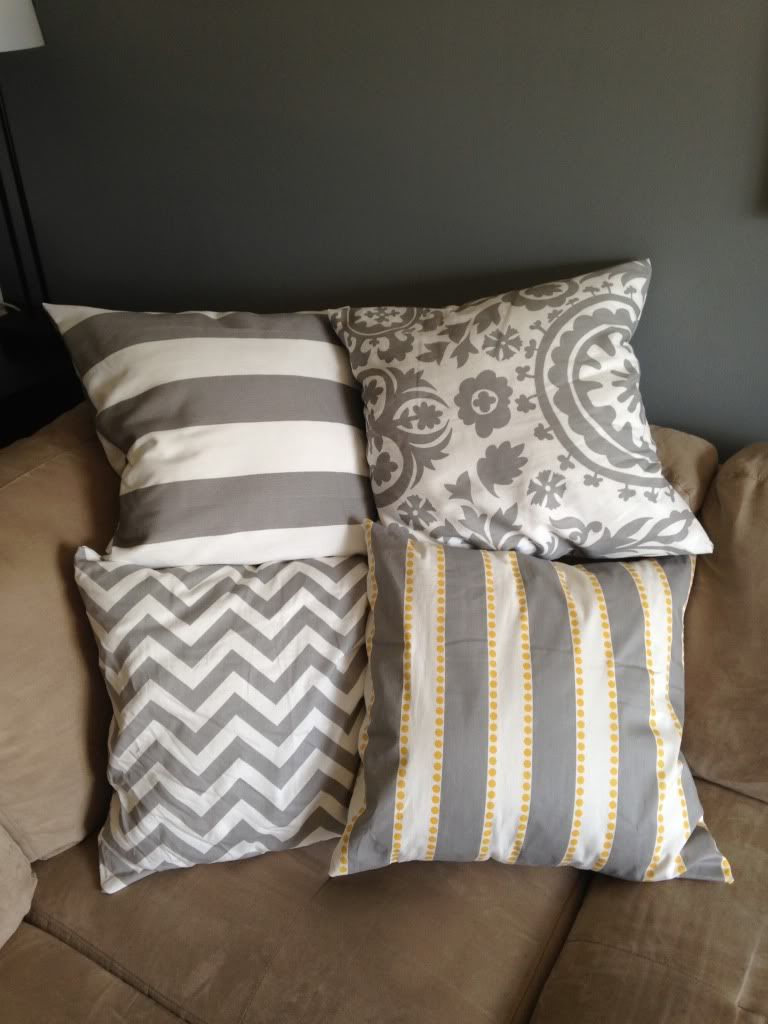
All four together.

A not-so-great picture of all four, plus my DIY chevron artwork.
20" by 20" cushion covers are all over Etsy for right around $25 dollars, not including the insert or shipping. I made mine for an average of $7.15 PER CUSHION! That's a savings of almost $18. If that alone doesn't encourage you to give these covers a try, I don't know what will.
Beautiful! I love the material!
ReplyDeleteThey look amazing! I made these as my first sewing project a few months ago, too!
ReplyDeleteNICELY done! :) And I love the chevron art too... wow!!
ReplyDelete